Editing your site’s heading with Elementor is simple and doesn’t require any coding knowledge. Follow the steps below to update the text quickly and safely.
First, log in to your WordPress dashboard and open the page you want to edit. Click Edit with Elementor to launch the visual editor. Once the page loads, you will see your content on the right side and the Elementor panel on the left.
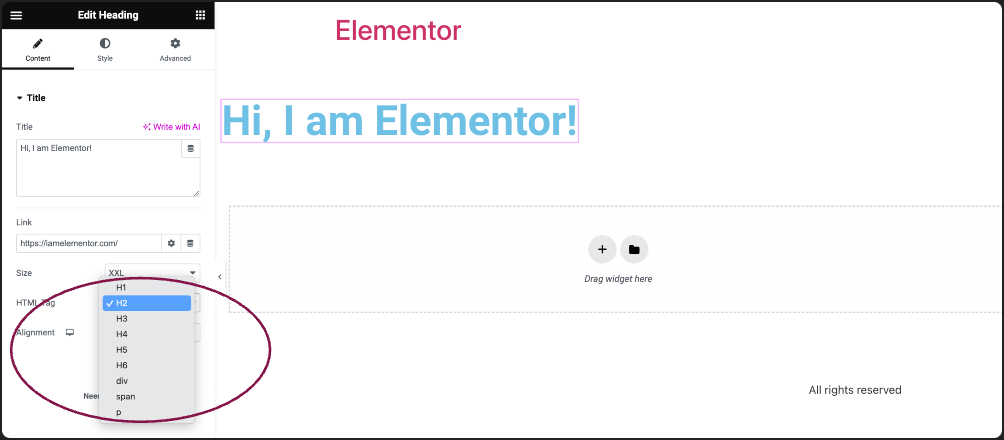
Next, locate the heading you want to change. Click directly on the heading text in the preview area. When selected, the left panel will display the Heading widget settings. In the Content tab, you’ll see a text field labeled “Title.” Simply delete the existing text and type your new heading.
After editing the text, you can also adjust its appearance. Switch to the Style tab to change the font, size, color, alignment, or spacing. This allows you to match the heading to your site’s overall design.
Once you are satisfied with the changes, click the Update button at the bottom of the panel to save your edits. Your new heading text will now appear live on your website.
Tip: If the heading does not change, make sure you are editing the correct page and that the heading is not part of the theme’s global header. If it is, you may need to edit it through Theme Builder instead (Elementor Pro).